
Last updated November 2, 2026
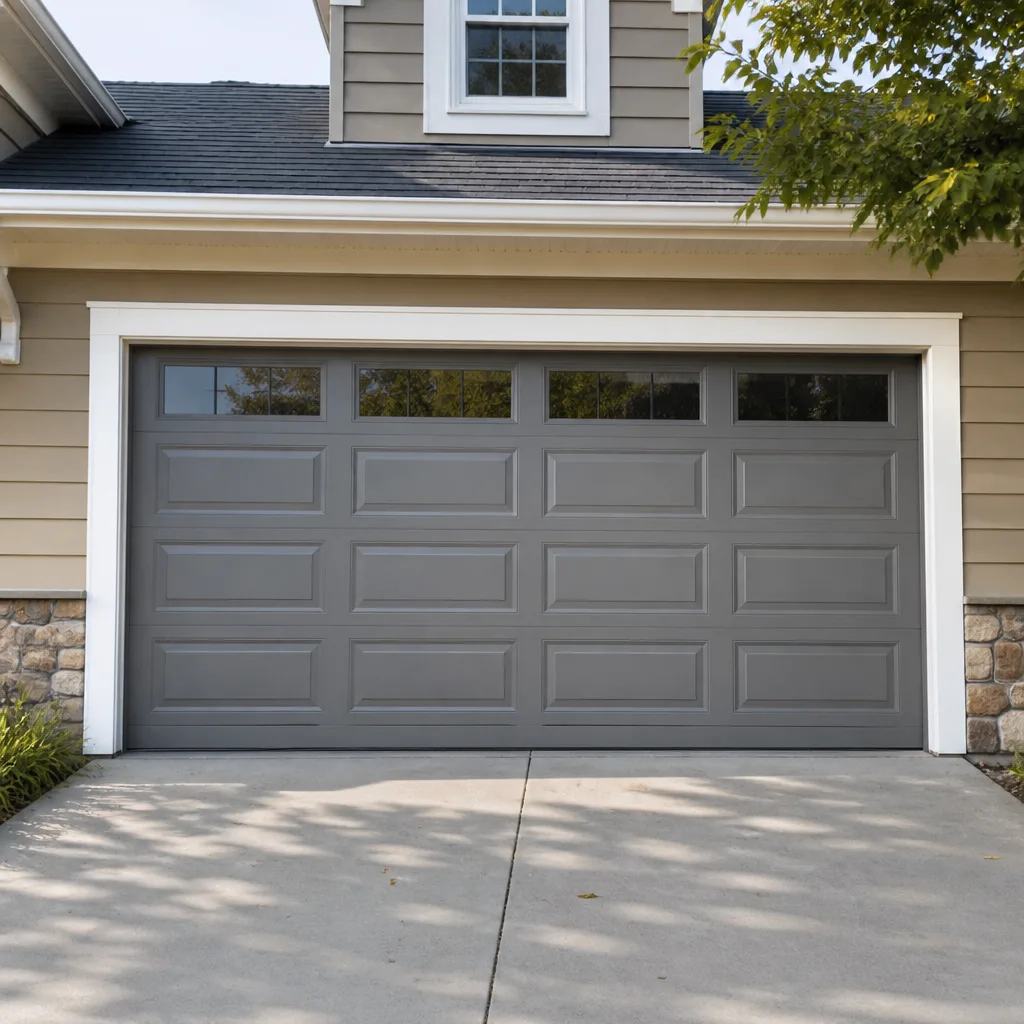 Raised-panel steel
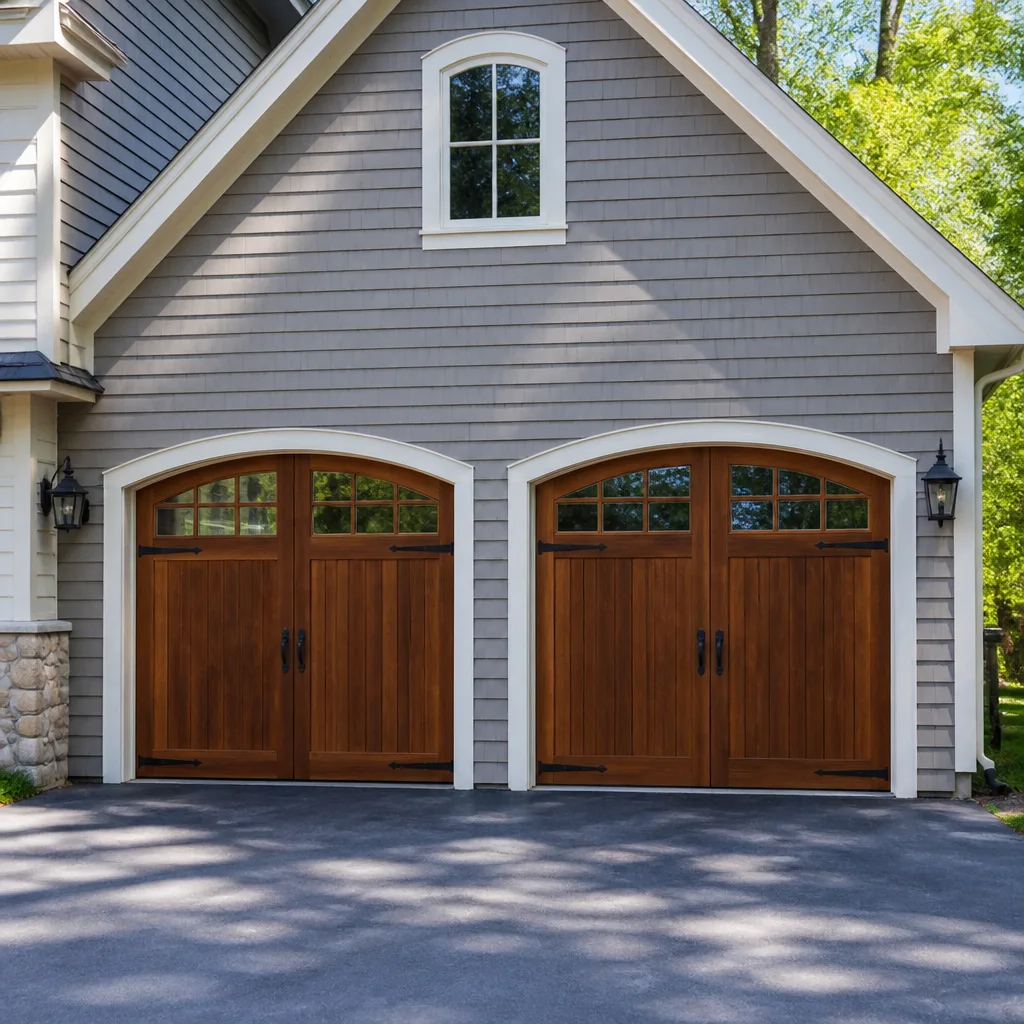 Carriage house
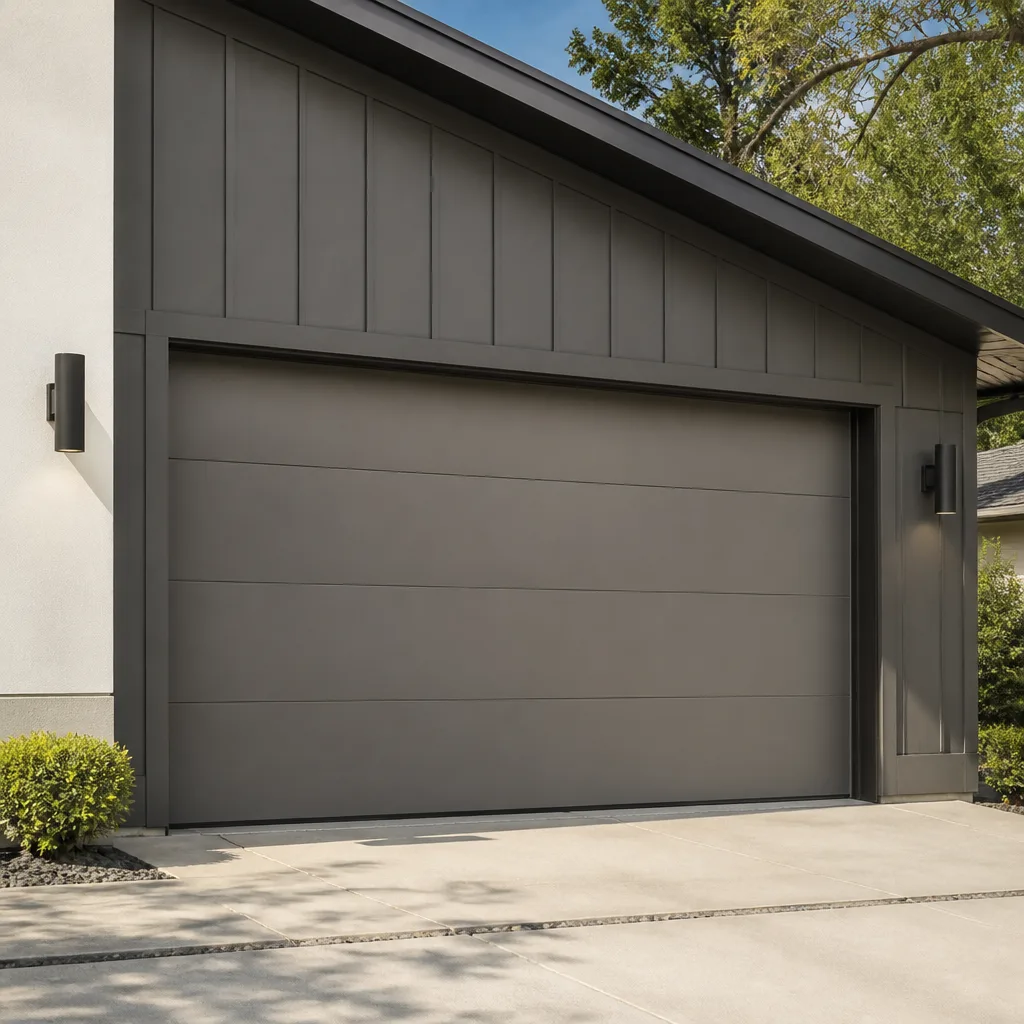 Modern flush
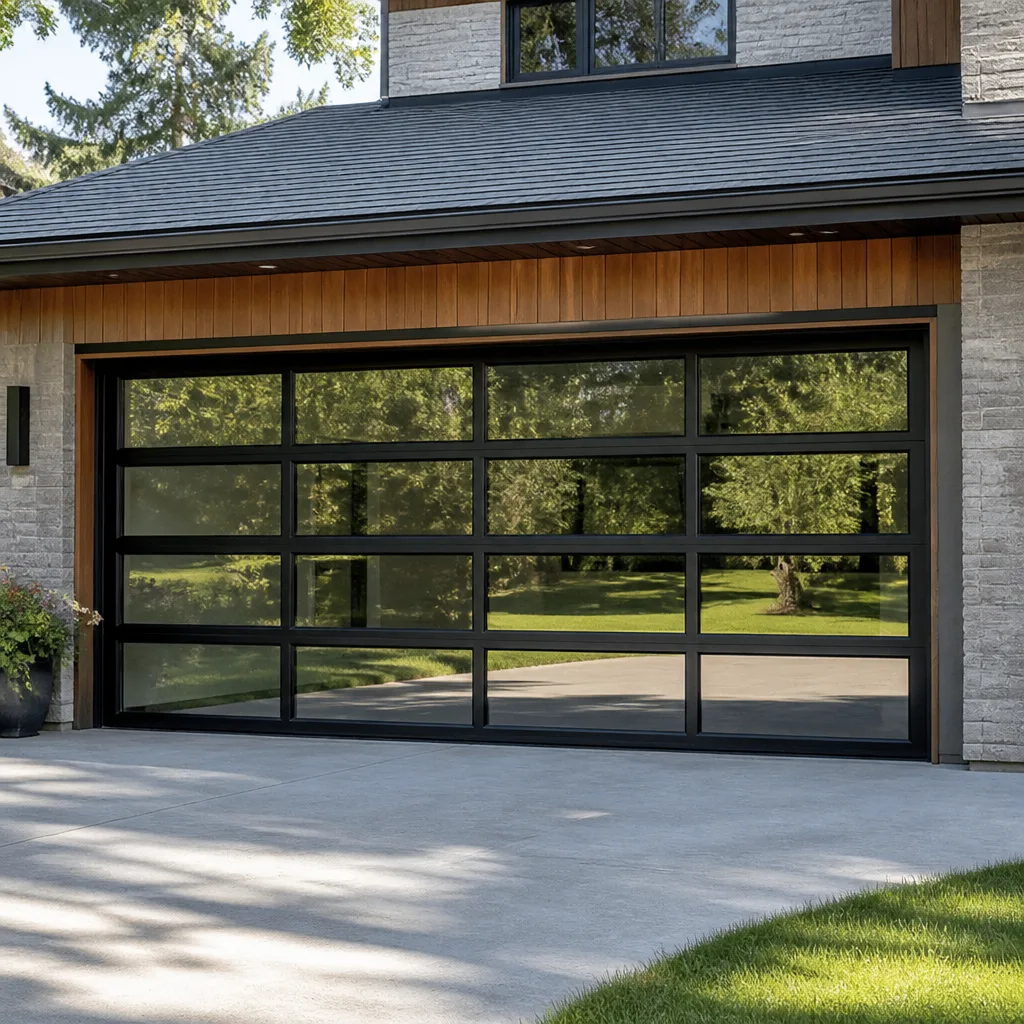 Full-view glass
 LiftMaster openers
 Chamberlain openers
Full 25-point door and opener safety check with every visit - springs, cables, rollers, tracks, and your LiftMaster or Chamberlain opener included
You get a price before we start. It does not change when the truck arrives.
Get your free estimateGarage Door Repair Maintenance Checklist for Pomona Homeowners
Here’s something most maintenance guides won’t tell you: the biggest killer of garage door springs in Pomona isn’t age. It’s the combination of skipped lubrication and the Inland Empire’s temperature swing, where winter nights dip into the 40s and summer afternoons push past 100°F. That thermal cycling stresses metal components in ways coastal garages never experience. A door that would last 15 years in Huntington Beach can fail at year 8 in Pomona if basic upkeep is ignored. This guide gives you a task-by-task maintenance schedule with specific intervals, the right products for each component, and the exact warning signs that mean you should stop the DIY work and call a professional. For Garage Door Warning Signs: A Pomona Homeowner’s Reference Guide, see our dedicated post. We’re writing this from our shop in Pomona, because we see what this specific climate does to garage hardware every week.
Quick Answer
A proper garage door maintenance checklist for Pomona homeowners has three layers: monthly visual inspections of cables, rollers, and weatherstripping; quarterly lubrication of specific moving parts using the right product (not WD-40); and twice-yearly balance and force-reversal tests. Most homeowners can handle the first two layers safely. The third involves light testing only, with a professional stepping in if anything fails. Following this schedule typically extends spring and opener life by several years in Pomona’s climate.
Styles & brands we work with
- Raised-panel steel
- Carriage house
- Modern flush
- Full-view glass
- LiftMaster openers
- Chamberlain openers
Table of Contents
- Springs: The Component That Fails First in Pomona
- Cables and Pulleys: What to Check Before They Snap
- Rollers and Tracks: Lubrication Without the Overlubrication Mess
- Weatherstripping: Where Pomona’s Heat and Dust Win the War
- Opener Maintenance: What Most Checklists Skip Entirely
- How to Perform a Balance Test Safely (Without Touching Spring Hardware)
- Force-Reversal Test: The 10-Minute Safety Check That Takes Longer to Explain Than to Do
- Pomona Seasonal Maintenance Schedule: A Printable Reference
- Common Mistakes to Avoid
- When to Call a Professional
- Frequently Asked Questions
Springs: The Component That Fails First in Pomona
In Pomona, we replace more torsion springs in late summer than any other time of year. The reason is simple physics: the high-tension steel in your springs expands and contracts with temperature shifts, and a spring that’s been running without adequate lubrication for years finally reaches its fatigue threshold during the hottest stretch of the season. This pattern is consistent across Pomona neighborhoods, from Phillips Ranch to Westmont, and it’s a direct result of climate rather than homeowner neglect.
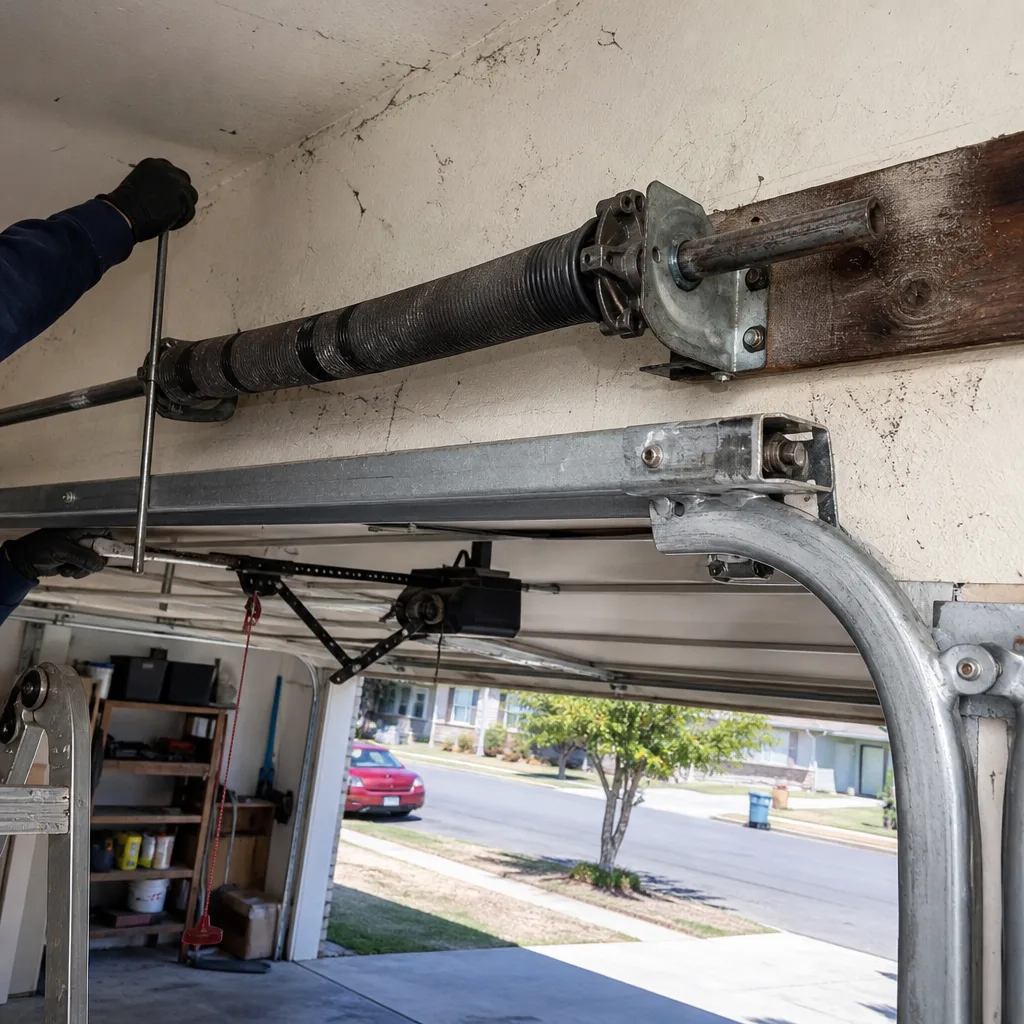
Most garage doors in Pomona use one of two spring types. The first is a torsion spring, mounted on a metal shaft above the door opening. It’s under enormous tension even when the door is fully open or closed. The second is a pair of extension springs, running parallel to the horizontal tracks on either side of the door. These stretch when the door closes and relax when it opens. Both types have the same maintenance needs, but they fail differently and at different rates in this climate.
What you should do, and how often:
- Visual inspection: Every month, look at the springs with the door closed. Torsion springs should show no gaps in the coil. A gap means the spring snapped and needs replacement. Extension springs should show no fraying, kinking, or stretched-uneven coils.
- Lubrication: Every three months, apply a dedicated garage door spring lubricant. The right product is a silicone or lithium-based spray designed for garage doors, not a penetrating oil. More on this in a moment.
- Professional inspection: Once a year, during spring or fall, have a technician check the torsion shaft, spring cones, and mounting brackets for wear.
Here’s the key distinction most checklists miss: torsion springs should be lubricated only on the outside surfaces of the coil. You’re reducing friction between the coils as the spring winds and unwinds. Extension springs need the lubricant applied along the full length of the coil, because they rub against themselves and their support cables during operation.
The WD-40 question, answered directly: WD-40 is a solvent-water displacement formula, not a lubricant. It’s excellent for freeing a stuck bolt or cleaning gunk off a surface. It is wrong for garage door springs. WD-40 evaporates within days and leaves the metal dry, which accelerates rust and increases friction between the coils. In Pomona’s dry heat, that mistake gets amplified: the evaporation happens even faster, and the metal-to-metal wear compounds quickly. Use white lithium grease or a silicone-based spray specifically formulated for garage door systems.
Cables and Pulleys: What to Check Before They Snap
Cables are the most visually accessible high-stress component in your garage door system, yet they get less attention than the springs. That’s a problem in Pomona, because the combination of dry air and fine dust means cable corrosion and wear happen more quietly here than in humid coastal climates. Rust doesn’t announce itself the way it does in Santa Monica.
Your door uses two types of cables. Lift cables run from the bottom brackets on either side of the door up to the torsion shaft or pulley system. These bear the door’s weight every time it moves. Safety cables run through the center of extension springs, if your door uses that system, and exist solely to catch the spring and prevent it from becoming a projectile if it snaps.
The monthly check:
- With the door closed, walk to each side and look at the lift cable where it connects to the bottom bracket.
- Look for broken strands. A lift cable is made of many thin steel strands twisted together. Individual strands that have popped out and are curling away from the cable body are a replacement-level warning sign.
- Run your eyes along the cable to the top of the door. Look for flat spots, kinks, or areas that look shiny rather than dull. A shiny spot means the cable is rubbing against metal somewhere it shouldn’t.
- Check the pulley wheels at the top of the tracks. They should spin freely and silently. A squealing pulley is a lubrication issue. A wobbly pulley is a mechanical failure.
If you find a broken strand, do not attempt to replace a lift cable yourself. These cables are under the same tension as the springs, and a sudden release can cause serious injury. Professional Garage Door Repair services in Pomona cost less than an emergency room visit, and the work takes under an hour in most cases.
For safety cables on extension springs, the monthly check is simple: confirm the cable runs through the center of the spring and hasn’t been pulled out of its anchor points at either end. If you can touch the spring without the cable being in place, call for repair immediately.
Rollers and Tracks: Lubrication Without the Overlubrication Mess
Garage door rollers are the most-often overlubricated component in the entire system, and that causes as many problems as underlubrication does. When rollers get too much lubricant, the excess attracts Pomona’s fine dust, which turns into a grinding paste inside the roller bearing. The result is a roller that’s actually wearing faster than it would if you’d left it alone.
Rollers come in three quality grades. The most common in Pomona homes is the standard steel roller with ball bearings, installed when the house was built. These last about seven years under heavy use. Nylon rollers with sealed bearings are the mid-grade option, quieter and lasting around ten to twelve years. The premium option is a nylon roller with a sealed bearing designed for quiet operation, which is the standard recommendation when we install new Clopay or Amarr doors in Pomona.
The right way to lubricate rollers:
- Apply lubricant only to the bearing area, which is where the roller stem meets the wheel. Not to the wheel face itself.
- Use a lubricant applicator straw on your spray can to hit this small area precisely. A wide spray pattern is your enemy here.
- One quick burst per roller is enough. The bearing is sealed; you’re lubricating the point where the stem enters the bearing housing, not the bearing internals.
- Wipe any overspray off the roller wheel and the track immediately. Do not lubricate the track itself. This is the most common mistake in every generic maintenance guide, and it’s actively harmful: a greased track gives the rollers no purchase, which causes slipping, vibration, and in hot Pomona weather, accelerated roller wear.
For the tracks themselves, the maintenance is visual and corrective rather than lubricating. Look for dents, gaps, or places where the track has pulled away from the wall mounting brackets. A track that’s out of alignment by even half an inch causes the roller to bind, which puts extra strain on the opener motor and shortens its life. If you can see the track moving independently of the wall when the door operates, don’t try to bend it back yourself. Track realignment is one of the lower-cost professional services we perform in Pomona, but it requires correct mount tensioning.
Weatherstripping: Where Pomona’s Heat and Dust Win the War
If you park in your garage during a Santa Ana wind event, you’ll notice a fine layer of dust on everything by morning if your bottom seal has failed. Pomona’s wind patterns push dust under doors in ways that Palm Springs and other desert communities also experience, but with the added variable of tree debris from mature neighborhoods like Lincoln Park and Ganesha Hills.
Your garage door has four weatherstripping points, and they fail at different rates in this climate:
- Bottom seal (the most important): A flexible rubber or vinyl strip attached to a channel on the bottom of the door. In Pomona heat, this strip cracks and becomes brittle in three to five years. When it fails, you get dust, leaves, and in the winter, cold air intrusion into your garage.
- Side and top jamb seals: Vinyl or weatherproof rubber strips attached to the door frame. These last longer but warp in direct sun, which Pomona gets more than 280 days a year.
- Panel-to-panel seals: The seals between your door panels. These compress over time, and in Pomona heat, they can become permanently compressed, creating small light gaps.
- Door-to-track seals: The rubber strips along the vertical track edges that keep dust from entering between the door and the track.
Inspection routine: Once a month, with the door closed, stand inside the garage and look for visible light coming through around the door’s edges. Light means a failed seal. Also check the bottom seal for flat spots, cracking, or separation from the mounting channel. In Pomona’s summer heat, the bottom seal can actually melt slightly and bond to the concrete, then tear when the door opens.
Replacement of a bottom seal is a homeowner-doable job if the channel is still intact. The seal slides out of the track and a new one slides in. The critical detail is getting the right profile: residential doors use T-style, bulb-style, or bead-style channels depending on the door brand. Taking a photo of the old seal’s cross-section with your phone before you buy a replacement will save you a return trip to the hardware store. If you’d rather not deal with it, Garage Door Service Pomona home techs carry multiple seal profiles on the truck and can replace one in about 20 minutes during a maintenance visit.
Opener Maintenance: What Most Checklists Skip Entirely
Garage door maintenance guides love to talk about springs and cables, and almost all of them skip the opener. That’s a significant miss for Pomona homeowners, because the opener contains the drive chain, belt, or screw that wears out on its own timeline, independent of the door’s hardware.
Most Pomona homes use one of three opener drive types. Chain-drive openers are the oldest and loudest, commonly found on homes built before 2005. Belt-drive openers are the standard on newer builds and use a reinforced rubber belt instead of a metal chain. Screw-drive openers, popularized in the 1990s by brands like Genie, use a threaded steel rod to move the trolley. All three need the same basic maintenance approach, with one variation.
What to do every three months:
- Wipe down the drive rail or screw with a clean, dry rag. Remove accumulated dust and old lubricant residue.
- Apply a thin coat of white lithium grease to the rail or screw. This applies to chain-drive and screw-drive openers. For belt-drive openers from Chamberlain or other major brands, do not apply grease: the belt runs dry by design, and lubricant shortens its life.
- Test the opener’s auto-reverse force settings. This is a safety feature required since 1993, and it needs periodic verification. Place a roll of paper towels on the floor in the door’s path and close the door. If it doesn’t reverse on contact, your force settings need adjustment, and in most cases, this involves the opener’s internal limit and force controls, which is a professional service call.
- Check the opener’s chain or belt tension. A chain that sags more than half an inch below the rail when the door is closed needs tightening. A belt that shows visible slack needs the same. Both require removing the opener cover to access the tension adjustment, which is a straightforward professional job.
Here’s a point of distinction that matters in diagnosis: a garage door that makes grinding noises during operation could be roller bearings, a worn chain, or a failing opener gear. These sound similar to homeowners but have completely different repair paths. The roller is door-side; the chain is opener-side; the gear is internal to the opener’s motor head. We diagnose both systems because Garage Door Opener Repair in Pomona calls are frequently door-side problems in disguise, and vice versa. When you can isolate the system precisely, you avoid paying for a part replacement that doesn’t fix the root cause.
For smart openers using myQ (LiftMaster and Chamberlain) or Genie’s Aladdin Connect platform, the maintenance check extends to firmware updates. An opener with outdated firmware can have connectivity drops that have nothing to do with the door mechanics. Most systems update automatically through their connected Wi-Fi, but if your opener periodically loses app connection, a firmware check is a reasonable first step before assuming the opener is failing.
How to Perform a Balance Test Safely (Without Touching Spring Hardware)
A balance test tells you whether your springs are doing their job evenly. It’s the most useful diagnostic you can perform yourself, and it requires no tools and no contact with any tensioned component. Here’s the complete procedure, which takes about three minutes.
- Close the garage door completely.
- Pull the red emergency release handle on the opener rail. This disconnects the door from the opener trolley and lets the door move manually.
- Stand inside the garage and lift the door by its handle, not by the edges or the bottom panel.
- Lift the door halfway up to chest height and release it. A properly balanced door will stay in place, moving no more than an inch or two either way. A door that drops toward the floor has springs that are too weak or broken. A door that rises on its own has springs that are over-tensioned, which is less common but equally worth correcting.
- Repeat the test at the three-quarter-open position. The door should hold steady there too.
- Reconnect the door to the opener by pulling the release handle toward the door and running the opener until it re-engages. Some openers require you to manually latch the release; check your opener’s manual for the specific re-engagement procedure.
Important safety note: A balance test done with a broken spring is the moment homeowners sometimes hurt themselves. If the door feels unusually heavy when you begin lifting, or if it slams down when you release it at the halfway point, catch it and guide it to the floor if you can, but never fight a falling door. The proper response to a failed balance test is to reconnect the door to the opener, leave it closed, and call a professional. For step-by-step diagnostics, read our Garage Door Repair Troubleshooting: Common Problems and How to Fix Them. In Pomona, spring replacement on a standard residential door typically runs between $250 and $400 for a torsion spring pair, depending on the spring’s cycle rating and the door’s weight. We always quote that price before starting work.
Force-Reversal Test: The 10-Minute Safety Check That Takes Longer to Explain Than to Do
Since 1993, federal law has required every automatic garage door opener in the United States to include a force-reversal system that stops and reverses the door when it encounters resistance. This feature has saved lives, but it only works if it’s tested periodically. In our experience, fewer than one in five Pomona homeowners has ever tested theirs.
The test itself is simpler than the balance test, and it’s a good companion to it:
- Open the garage door fully using the opener.
- Place a roll of paper towels or a 2×4 piece of scrap wood flat on the floor directly under the door’s path.
- Press the close button and watch the door’s behavior.
- The door should reverse within two seconds of contacting the obstruction and return to the open position. If it hesitates, strains against the object, or continues downward before reversing slowly, the force setting is too high.
- Remove the obstruction and run a complete open-close cycle to confirm normal operation.
A failed force-reversal test is a safety issue that deserves same-day attention. The force adjustment is located inside the opener’s motor housing, and each brand handles it differently. A Chamberlain opener uses a different adjustment mechanism than a Genie screw-drive unit, and setting it correctly involves more than just cranking a dial to an arbitrary position. Set too low, the door won’t close on slightly windy days. Set too high, it creates a genuine safety hazard. Getting it dialed in correctly is one of the more common Garage Door Repair in Pomona calls we make, and the fix is usually quick: recalibrate the force, verify reversal, and the door operates properly again.
Pomona Seasonal Maintenance Schedule: A Printable Reference
Here’s the maintenance schedule our team uses as a baseline for Pomona homes. It accounts for our climate: the summer heat stress, the fall Santa Ana dust events, the mild but still present winter temperature dips, and the spring transition.
Monthly (5-10 minutes):
- Visual inspection of springs, cables, and rollers for obvious wear
- Check bottom seal for cracks, flat spots, or separation from the channel
- Listen during one full open-close cycle for grinding, squealing, or rattling
Quarterly (20-30 minutes):
- Lubricate springs, roller bearings, and hinges with silicone or lithium spray
- Wipe down and lubricate opener rail (chain or screw drive only; skip for belt drive)
- Check weatherstripping on sides and top for warping or light gaps
- Inspect track mounting brackets for looseness
Twice Yearly, in spring and fall (30-45 minutes):
- Perform balance test as described above
- Perform force-reversal test as described above
- Check opener chain or belt tension
- Inspect safety cable anchors on extension spring systems
The fall check is particularly important in Pomona, because it sets your door up for the Santa Ana season, when high winds put repeated lateral load on the panels and tracks. The spring check prepares the door for the heat cycle where the majority of our torsion spring replacements occur in June through September. Both are worth doing at the same time you change your smoke detector batteries and clean your dryer vent, if you use seasonal anchors for those tasks.
Common Mistakes to Avoid
- Using WD-40 on springs and rollers. WD-40 is a solvent, not a lubricant. In Pomona’s heat, it evaporates within days and leaves your metal components drier than before, which accelerates the exact wear you’re trying to prevent.
- Lubricating the track. The track is not a skating rink. Grease on the tracks attracts dust, causes roller slippage, and reduces the life of everything in the system.
- Ignoring a failed balance test. A door that drops from the halfway point puts strain on the opener motor every time it operates. Running a door with weak springs for months usually means you’ll replace the opener too, not just the springs.
- Replacing only one spring when a torsion pair fails. Both springs on a torsion system wear at the same rate. Replacing just the broken one leaves you with mismatched tension and a door that’s out of balance from the moment the new spring is installed.
- Trying to adjust torsion spring tension without the correct winding bars. This is the one that sends people to the hospital. The stored energy in a torsion spring is sufficient to break bones or worse. Professionals use solid steel winding bars inserted fully into the winding cone; improvisations like screwdrivers or rebar create the ideal conditions for a catastrophic release.
- Treating the door and opener as one system for maintenance purposes. They wear independently. A noisy door with a quiet opener is a door-side problem. A grinding sound during operation with a smooth manual operation is an opener-side problem. Maintaining them as separate systems gets you correct diagnoses and prevents unnecessary part replacements.
When to Call a Professional
Some maintenance tasks are safe and reasonable for a homeowner to handle alone. Others are not. If you see a cracked spring coil, a frayed lift cable, a door that fails the balance or force-reversal tests, or a track that’s visibly out of alignment, stop the DIY work and make the call. These components are under tension that can exceed 200 pounds, and the stakes for improvising a fix are high. We work on the brands already in your garage, whether that’s a Chamberlain opener, a Genie screw-drive, a Clopay door, or an Amarr panel system. Eight brands, one call. Garage Door Service Pomona offers free estimates in Pomona, including spring replacement, cable repair, and full Garage Door Installation in Pomona projects. Call (866) 282-7068.
Frequently Asked Questions
Expect to pay between $250 and $400 for a standard torsion spring pair on a residential garage door in Pomona, with the final price depending on the spring’s cycle rating (10,000 cycles vs 20,000 cycles) and the door’s weight. Extension spring replacement typically runs $180 to $300. This price includes the labor, and it should be quoted and agreed before any work begins. Call (866) 282-7068 for an exact quote on your door.
Yes, lubricating springs is a safe DIY task when you use the right product and apply it only to the exterior coil surfaces. Use a silicone or lithium-based garage door lubricant, not WD-40, and apply it every three months. The lubricant reduces friction between the coils as the spring winds and unwinds. Never attempt to adjust or replace torsion springs yourself, but lubrication from the ground with the door closed is a reasonable homeowner task.
We recommend an annual professional inspection and tune-up for most Pomona homes, timed for spring or fall before the extreme-temperature seasons. The inspection covers spring tension, cable condition, roller bearing wear, track alignment, and opener force settings. For doors that see four or more open-close cycles per day, a twice-yearly professional check is worth considering.
Use a dedicated garage door lubricant, either a white lithium grease spray or a silicone-based spray formulated for garage doors. Both types work well on springs, roller bearings, and hinges. For opener rails, white lithium grease is the right choice on chain-drive and screw-drive units, but belt-drive openers from Chamberlain and other brands run dry and should never be lubricated. Avoid penetrating oils like WD-40, which don’t provide lasting lubrication in Pomona’s dry heat.
The metal components in your garage door system contract in cold temperatures, which tightens clearances between moving parts. That’s normal. What’s not normal is a sound that persists after the first few minutes of operation or a grinding noise that continues year-round. If you’re hearing persistent noise during Pomona’s cooler months, have the roller bearings and opener drive inspected before the heat cycle begins in the spring.
We service and install all major garage door and opener brands, including Chamberlain, Genie, Clopay, Amarr, LiftMaster, Wayne Dalton, Craftsman, and Raynor. That covers the brands already in most Pomona garages, whether the home was built in the 1980s or last year. The brand-specific knowledge matters most on openers, where Chamberlain and Genie use different force adjustment and smart-home integration systems. Same company, whether it’s a tune-up or a full replacement.
The Bottom Line
A garage door maintenance checklist for Pomona homeowners boils down to this: know your components, use the right products on the right parts, and respect the line between maintenance and repair. Browse more guides & resources on our blog for deeper dives into each topic. Monthly visual checks catch problems early. Quarterly lubrication with silicone or lithium keeps your springs and rollers alive in a climate that punishes dry metal. Twice-yearly balance and force-reversal tests confirm your safety systems still work. And when something fails, don’t improvise with hardware store substitutes or YouTube courage. Door side or opener side, we diagnose both. Eight brands, one call. Garage Door Service Pomona is based right here in Pomona and serves the entire city.
Written by the team at Garage Door Service Pomona, serving Pomona since 2016.
See the difference
 Before
 After
 Before
 After
 Before
 After